How to programmatically interact with a KNX smart home system
Note: This article is basically a guide on what I had to figure out on my own when interacting programmatically with a KNX system. Some things can be very dependent on how your setup works. I’m also not a KNX expert in any way, much of this stuff was found by “trial and error” instead of reading kind of outdated documentation.
Imagine this: You have an an alarm clock that sets itself according to your online calendar. You go to bed without having to set or think about it. And in case an event in the morning gets cancelled, it will notice and adjust your wakeup time while you sleep. No waking up for no reason!
Then when it’s time to wake up, a very soft sound starts playing. You can’t really hear it right now, but it steadily climbs up to a normal volume. At the same time, the light in your room turns on automatically and progresses from very dim to a normal brightness within a minute. At that level of brightness, it’s impossible to go back to sleep.
That’s basically how the mornings of my last few years of school went. The alarm clock ran on a Raspberry Pi and looked at the school’s website to find out if the teachers I had in the morning couldn’t come that day.
The most interesting part of this is how the alarm is able to turn the lights on and off. This is possible thanks to the KNX system at home. Let’s get into the details.
Note that in the code examples, I will use this KNX library for the programming language Go. It is important to note that the concepts are important, not the code itself. I have also successfully used this Node.JS library in the past, so it really doesn’t matter what you use. There are of course other libraries for other programming languages that might work for you.
Connecting
The assumption is that you already have a KNX system that is set up to be able to control the lights and the shutters. As in, when you send the packets from the ETS software, you can control the lights etc.
So what we want to to consists of two steps:
- Connect to the KNX system
- Send messages to switch certain lights
In my setup, I want to connect to a KNX IP BAOS 772 (Bus Access and Object Server). In KNX terms, this component is called a gateway. There are multiple ways to connect to a KNX system in the Go library I mentioned, but in this case the one we need is the “group tunnel”.
So to connect, we write something like the following code:
// Connect to the gateway.
client, err := knx.NewGroupTunnel("10.0.0.7:3671", knx.TunnelConfig{
    ResendInterval:    500 * time.Millisecond,
    HeartbeatInterval: 10 * time.Second,
    ResponseTimeout:   30 * time.Second,
})
if err != nil {
    log.Fatal(err)
}
// Close upon exiting. Even if the gateway closes the connection, we still have to clean up.
defer client.Close()
This is very close to the example given by the library.
Which IP to connect to?
You might wonder which IP and port you need to connect to. The port really should be 3671. For the IP you can look into the network overview of your router (where you see all kinds of IP addresses). Now we search for a device with “BAOS” in the name. In my case, it wasn’t there. It seemed to have gotten a default name from the router. So I had to go through all unknown devices, copy their IP address (e.g. 192.168.178.41) and visit it in a browser (http://192.168.178.41). At some point, you should find an almost empty page that contains only the name of the BAOS component, like this:
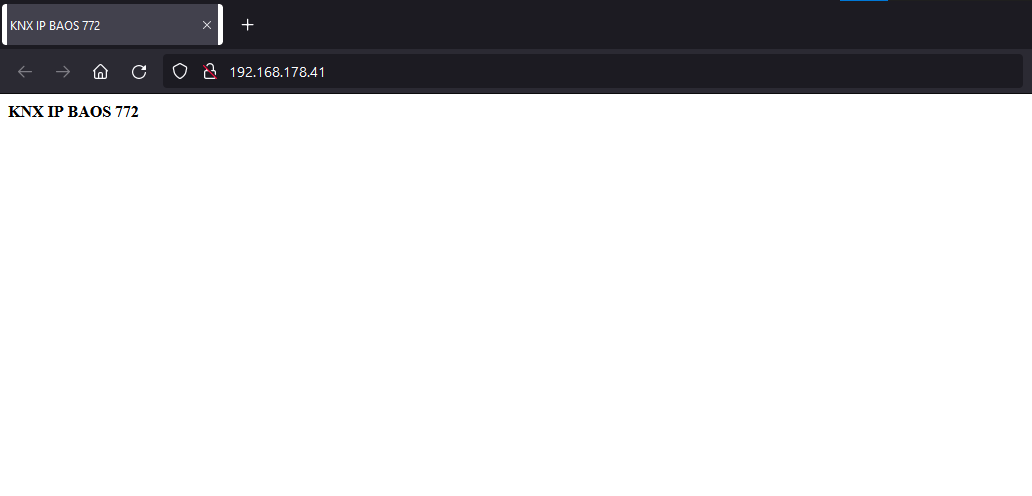
So in my case, the gateway address string in the code (first argument of NewGroupTunnel) should be 192.168.178.41:3671. Let’s start the program and see if it works.
Possible errors
There are a bunch of error conditions I have faced while developing my own software that I just want to tell you about here. The connection to this gateway is a bit… interesting.
Multiple connections
The first thing you should try when the connection doesn’t work is closing ETS (or at least disconnecting it from the KNX system) and anything else that is connected to the KNX system. What I found out, at least about this gateway, is that it seems to only support exactly one connection at once. When you connect from your code, you might get an error like Response timeout reached. ETS4 is a bit more descriptive with the following message (german):
Fehler beim Öffnen der Verbindung: Die Schnittstelle konnte nicht geöffnet werden. Der Tunneling-Server ist erreichbar, aber er akzeptiert keine Verbindungen mehr zu diesem Zeitpunkt
Error when opening the connection: The interface could not be opened. The tunneling server is reachable, but it no longer accepts connections at this time
So basically the solution to this is to only have one thing connect to the KNX system at a time. You can’t use your own software and ETS at the same time.
Timeout
Another thing to note is that connecting to this BAOS gateway seems to be very slow. The default timeout of 10 seconds of the Go library was often not enough in my case. Normal pings are however answered very quickly, so my guess is that the actual software just does… interesting stuff (aka being slow for some reason).
So anyways, increase the timeout and build a reconnection logic into your program. So your program should hold the connection all the time (because the initial connection takes long, and you don’t want to wait 30 seconds before the light turns on or off). And for that initial connection code, you should add something like an exponential backoff timer to only reconnect after 30 seconds, then a minute, then two, four etc. After an unexpected disconnect the gateway seems to take 30 seconds to a few minutes until it can accept connections again, which can be annoying for debugging. Make sure to always call client.Close() before stopping your program, else you might need to wait a bit.
Sending signals, switching lights
So now I assume that you have a working, connected KNX client in the code – the very same that we set up in the previous section.
The KNX library now provides the following example code to send 20.5°C to group address 1/2/3.
err = client.Send(knx.GroupEvent{
    Command:     knx.GroupWrite,
    Destination: cemi.NewGroupAddr3(1, 2, 3),
    Data:        dpt.DPT_9001(20.5).Pack(),
})
We of course want to adapt this to a light switch.
So in the ETS4 software there’s a tab for “group addresses”, and when you right-click on one, you can read/write a value:

In the “group addresses” window, we select the light we want to switch for now (for debugging purposes). We right-click it, and ETS will open the “group monitor” window, which shows the group address. The type of data we need to send should be preconfigured.
Note that there are (at least) two formats for addresses: one with two numbers (1/2) and one with three numbers (1/2/3). Just make sure to use exactly the format that ETS uses.
So when we revisit the send snippet above, we can now write the following for a light switch:
err = client.Send(knx.GroupEvent{
    Command:     knx.GroupWrite,
    Destination: cemi.NewGroupAddr2(1, 91),
    Data:        dpt.DPT_1001(true).Pack(),
    Source:      cemi.NewIndividualAddr3(15, 15, 15),
})
- The
Commandproperty is obvious: we want to send something, so we write our signal to the connection. - The
Destinationis the group address we want to send to. Since1/91has two numbers, we choose theNewGroupAddr2constructor (instead ofNewGroupAddr3for 3 numbers) - For
Datait’s important that the data format is correct. In the screenshot we can see “1.001 Schalten” as data type, so now we use the “Data Point Type1001”, akaDPT_1001. Heretruestands for on;falsewould turn the light off - We can also add a
Sourceaddress, which identifies who sent the signal. I’m not 100% sure if the signal is accepted without a source, but you can just add it.
And that’s basically it. This now allows you to turn the light on and off. When changing the destination address, you should be able to switch any light connected to the KNX system.
Some things to note
I will be honest, when I started playing with the system I was kind of afraid that I could break it in some way. So here are some tips in Q&A style:
Can I break something in the system by turning on a light that is already on?
- No. When you send an “on” signal (aka
dpt.DPT_1001(true)), nothing happens when the light is already on.
How can I toggle a light without directly sending the new state it should have?
- It doesn’t seem to be possible to just toggle a light. In order to toggle a light, your application needs to read the light state, then invert it. In my case, sending a
knx.GroupReadcommand didn’t really do anything and also never returned any data (also in ETS, so reading doesn’t seem to work at all). The solution to this is to listen to inbound messages (basically you can listen to all events sent over KNX), and then you have to keep a mapping of light addresses to their current state. And now when you want to toggle a light, you basically invert the last state you received about that light. So yeah, rather annoying but possible to do.
Interesting applications
Now that we know how to switch lights (and shutters, and basically anything else in the system) I want to tell you about a few projects you can do with that knowledge.
Home software
The most obvious thing is to just make a website where you can switch lights.
Since the BAOS only allowed one connection, I created a “Hub” software that other software can send commands to. So it basically works like this:
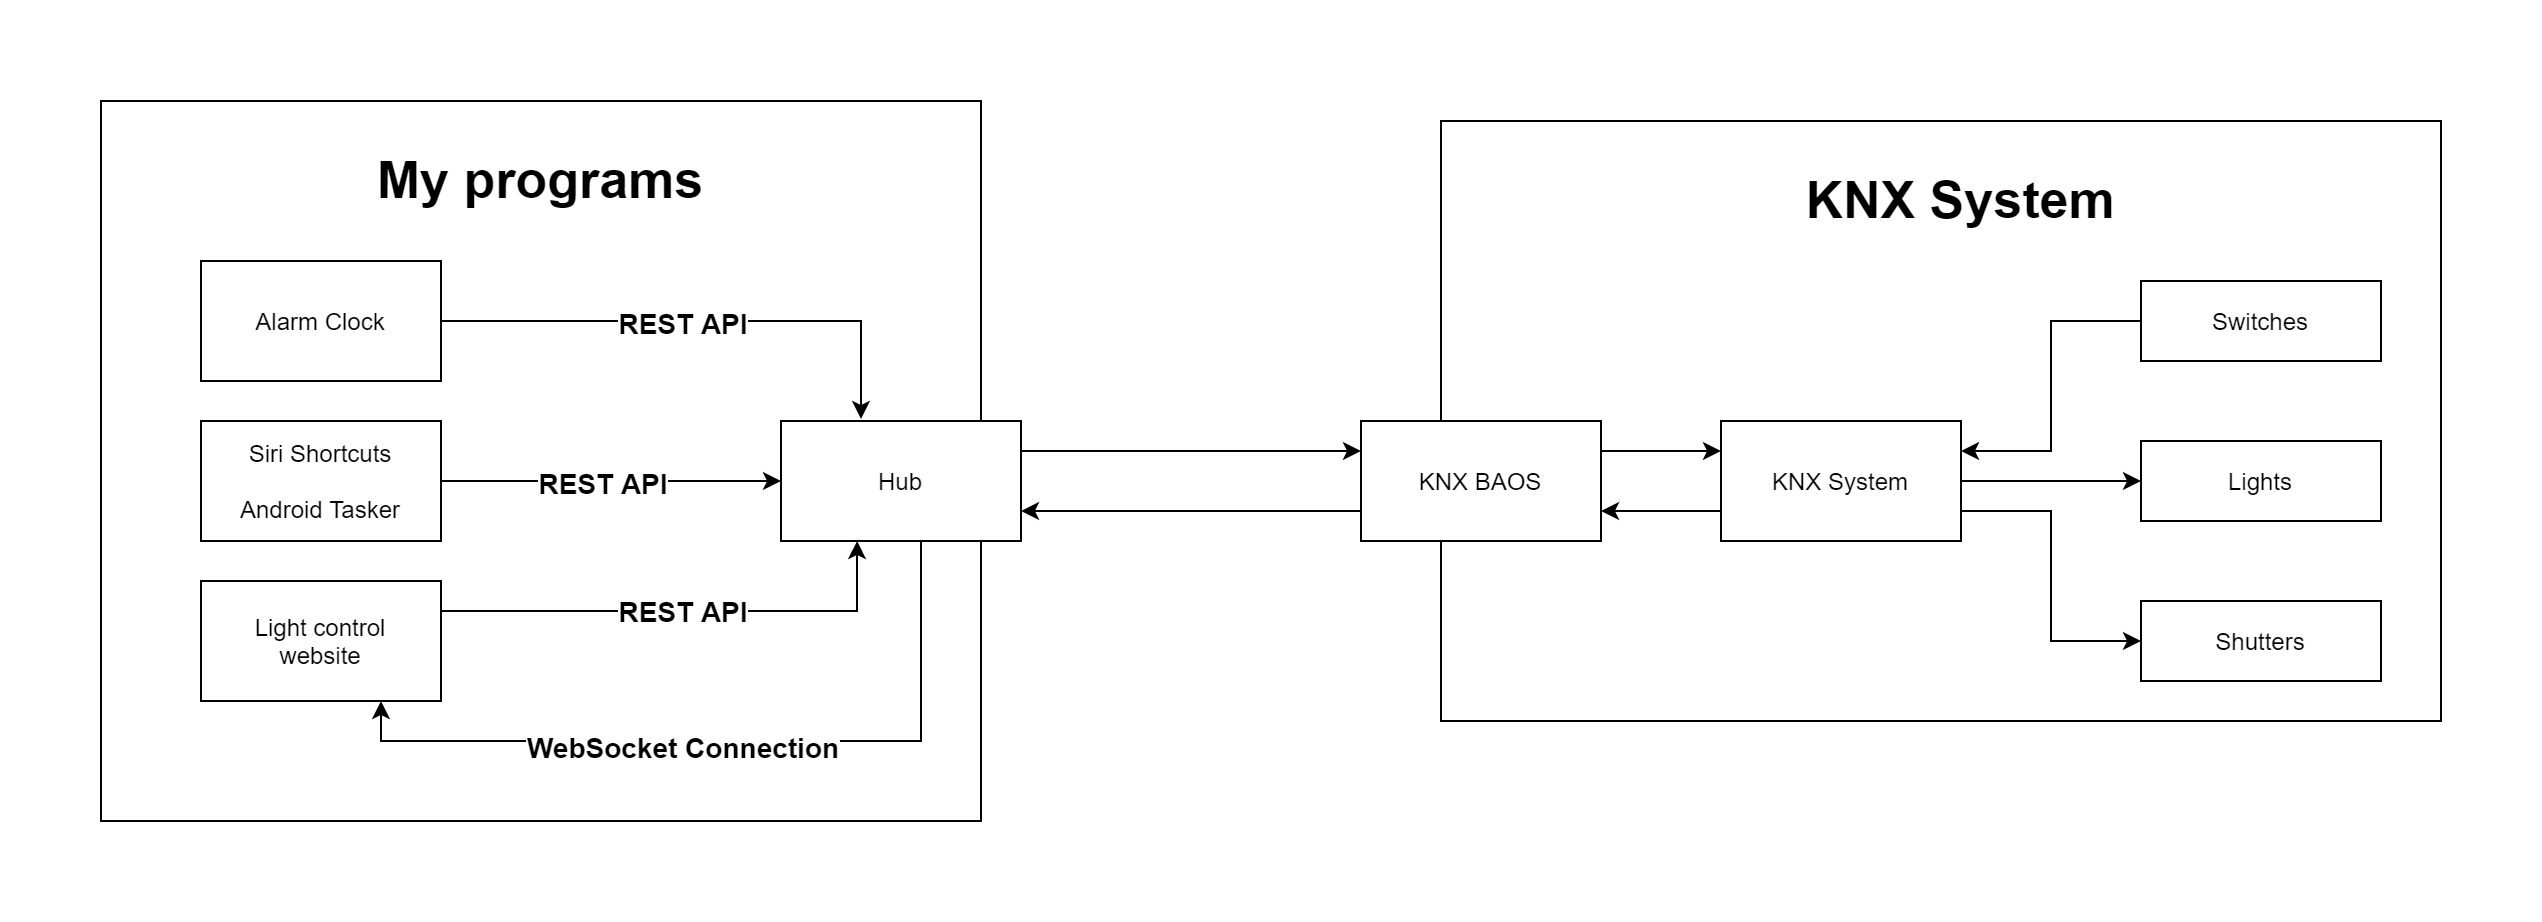
So this allows any software to just connect to the hub to receive live events (via a WebSocket connection) if it needs to. Other software can just use the REST API, which means that it can send really simple post requests to switch lights without having to know all the KNX stuff. This is especially useful for automation apps like “Siri Shortcuts” or the Android equivalent “Tasker” that allow you to send simple HTTP requests.
The hub runs on a Raspberry Pi and really doesn’t need much resources. It just needs to read which lights are switched by the KNX system and update its internal state accordingly. When a light switch request comes in, it inverts the last known state of the light and sends that to KNX. That way, a light that was on is switched off and vice-versa. So now let’s use the hub for real.
A light switch on your phone
On my Android phone, I use Tasker to send a HTTP request to the hub whenever I press a widget on my phone. With the introduction of the Android 11 power menu, this got even more interesting:
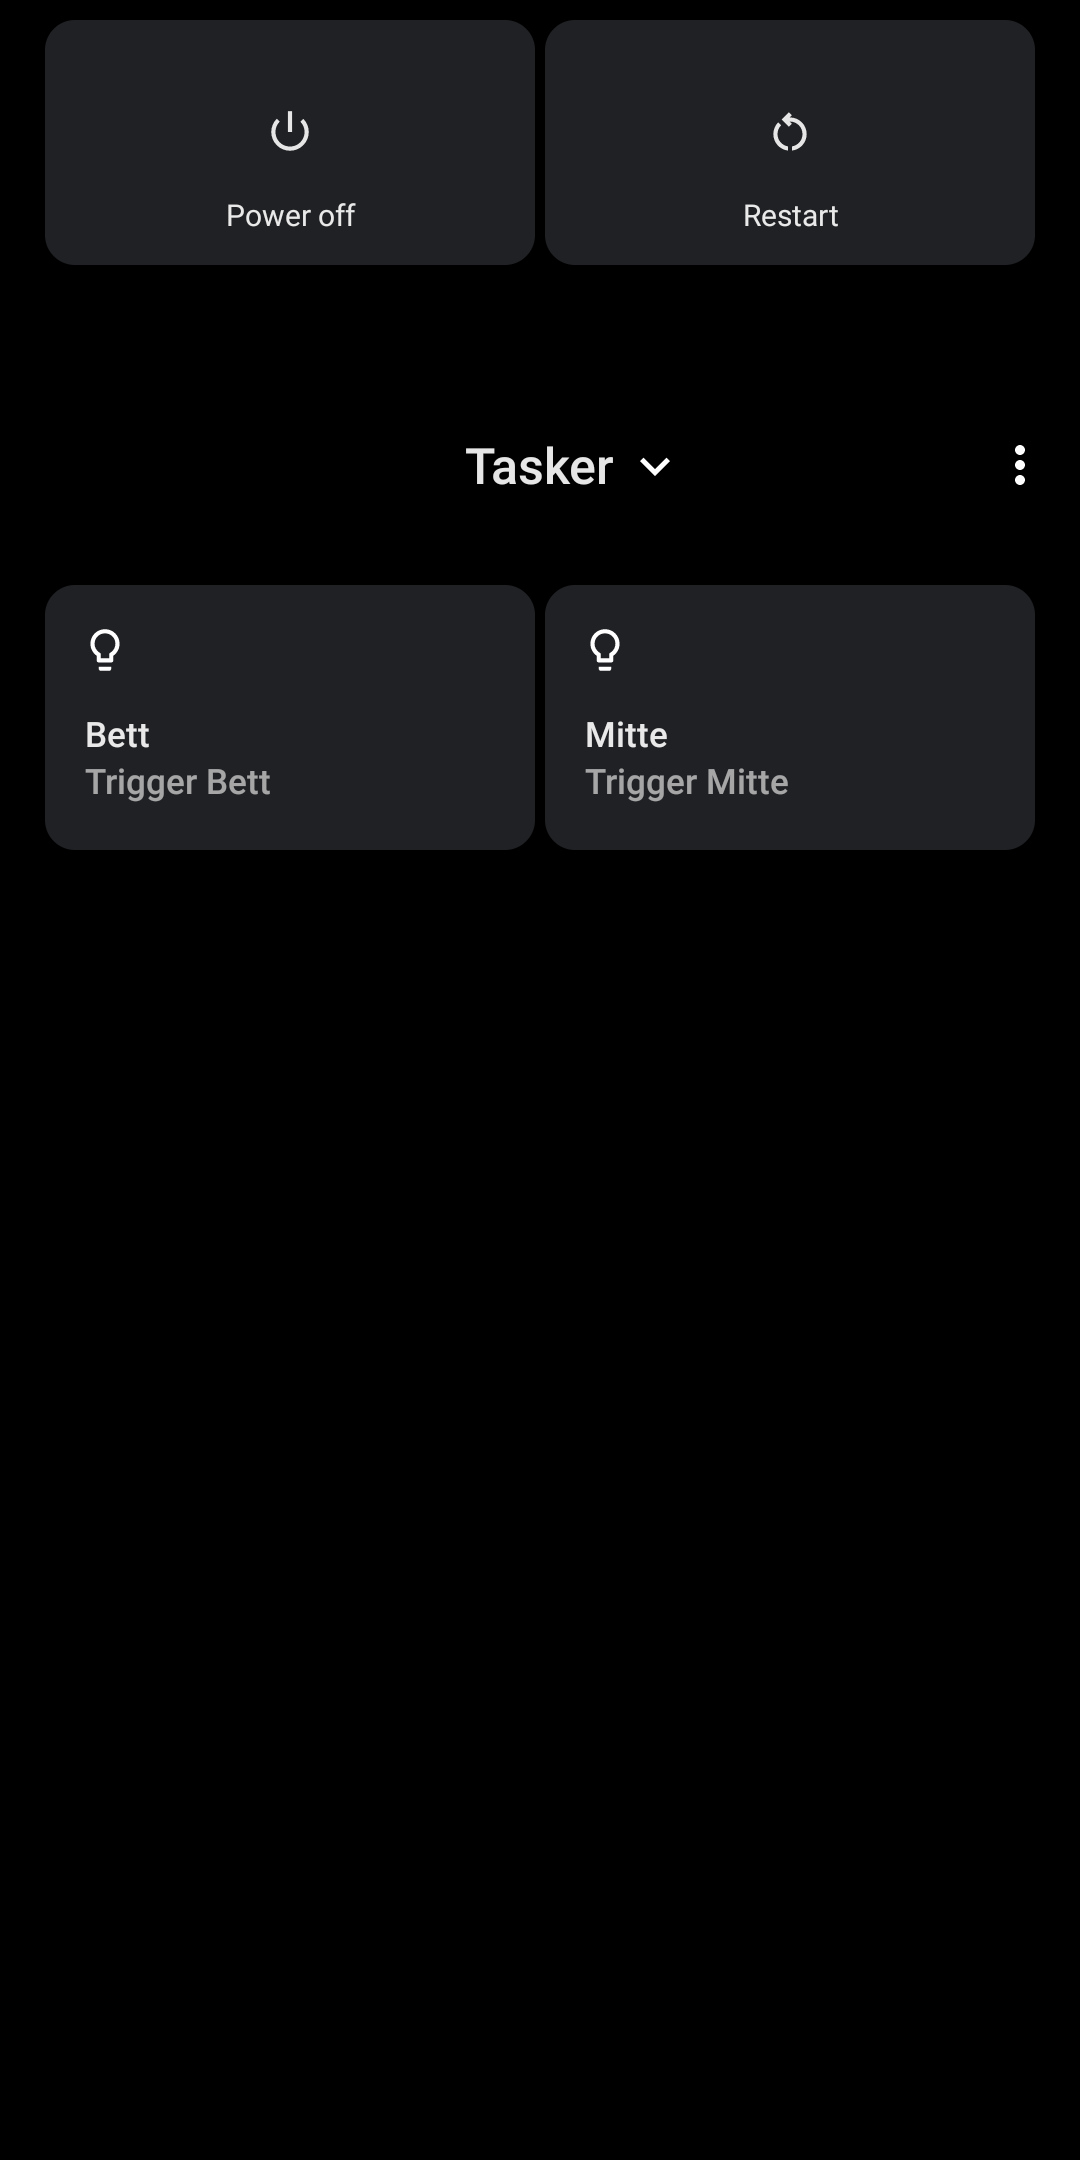
Basically when I tap the button, Tasker sends a request to the hub (this request includes the group address of the target light). It checks if the light in question is on or off, and sends a request with the inverted state to the KNX BAOS (as described in the section about sending signals).
A light switch website
Since we can read live data from the hub, we can create a website that displays the current state of some light switches (e.g. by room). This site should of course also allow switching the lights.
And here’s what I came up with for my room:
The buttons switch automatically when the KNX system receives a switch event (either from physical light switches or from the hub). And it is of course also possible to switch the light using the switches on the website directly. I can’t tell you how surreal of a feeling it is when you switch a physical light switch and the website updates within milliseconds; it’s just cool to see.
Alarm clock
Another application of automatic light switching – as mentioned in the intro of this article – is an alarm clock. It really helps you wake up when the light is already on – there’s no chance to fall sleep again after that.
The most important part is calculating when you need to wake up (e.g. depending on an online calendar) and adding a fallback wakeup time in case the online source isn’t available for some reason.
Conclusion
In general it can be said that the KNX system is kind of annoying to use. But once you figure out the basics and make them work in your program, then it’s rather easy to apply the data gained from it (e.g. live switch events) to other software like the website.
I hope this article helped you in the quest of programmatically automating lights in your home and might have given you one or two ideas on what it could be useful for. If you have any questions please feel free to reach out either on GitHub (e.g. via an issue on my blog repository) or via an e-mail to .
Thanks for reading!